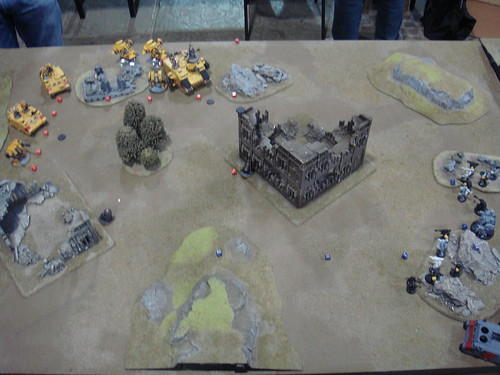
This is Open War Mission 1 between Andy's Orks controlled by me and Andy's Space Marines controlled by Andy (methinks that Andy is onto a winner here no matter what happens!) He won the roll off and chose to go first.
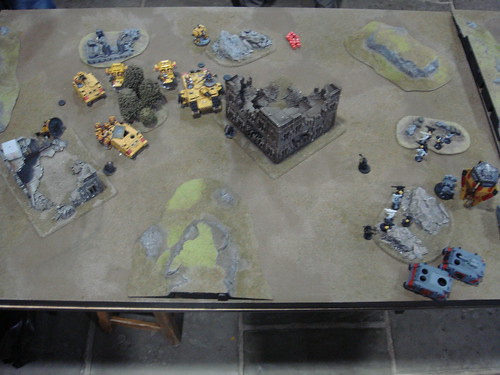
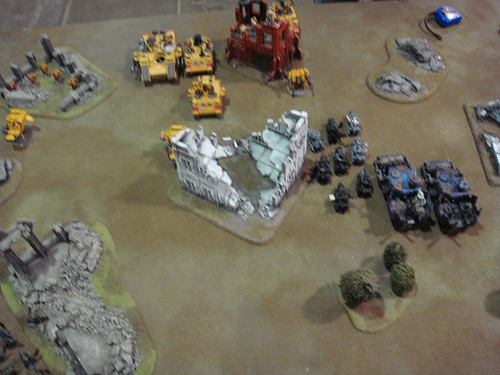
Deployment:
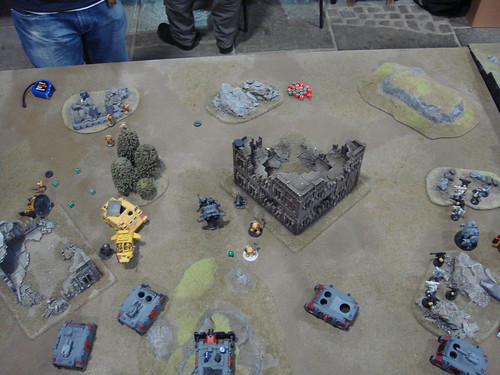
Turn 1:
The Librarian's was the only voice heard across the vox-caster as he co-ordinated the Space Marine attack. He sent a message to his Scout Bikers directing them exactly where to attack. In the meantime the army around him opened fire. Every gun they had that was in range shot at the distant Ork army. As the smoke from the fusilade cleared he looked at the screen in the Land Raider to survey the damage - 3 dead Lootas, a smashed Killa Kan and 4 dead Boyz who had been caught when the Killa Kan exploded. The Librarian uttered a brief prayer to The Emperor and prepared for the Ork's response.
The Lootas, having seen three of their squad killed, didn't know the meaning of the word discretion or the word valour but turned tail and fled the battlefield anyway. The rest of the Ork army charged forward as fast as possible, the Nob Bikers crashing through the centre supposrted by the two Battlewagons. The only Ork shooting came from the second squad of Lootas, who failed to damage a Razorback, and the Killa Kanz who managed to blow the Typhoon Missile Launchers off a Land Speeder.
End of Turn 1:
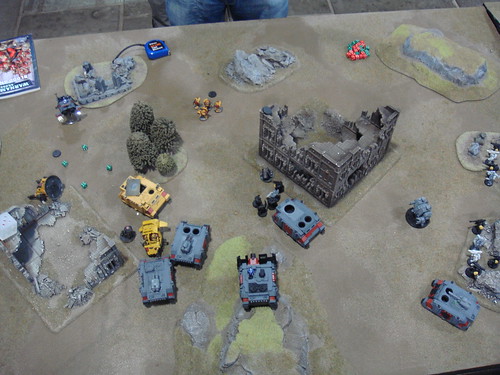
Turn 2:
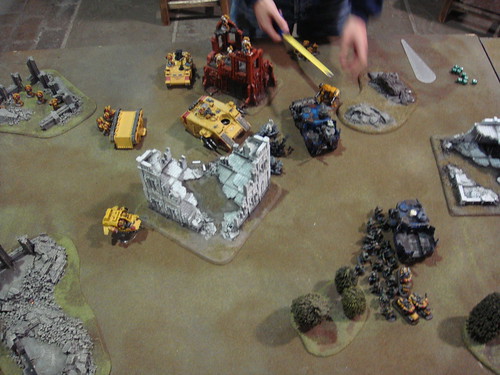
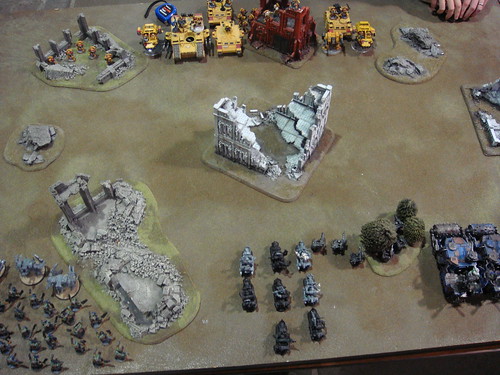
Turn 3:
The Space Marines, shocked by the death of their commander, resolved to taking revenge against his killers. They fired as one against the Nob Bikers but only managed to kill one Nob and wound the Warboss. In combat, the Orks cut down the remaining Scout Bikers easily although they lost another couple of Boyz.


Turn 5:
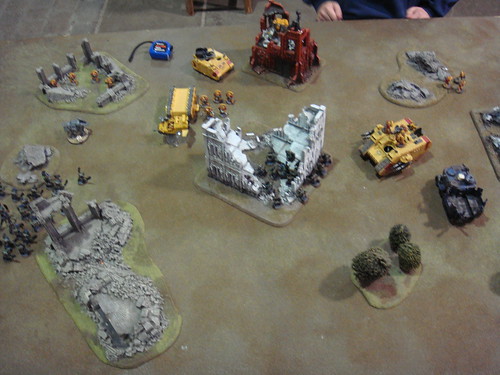
Turn 6:
Both sides could sense that the end was near and they knew that bold actions would be required to win the day. With this in mind, two Combat Squad slunk off into the best cover they could find, ensuring that they were claiming valuable objectives. The Land Raider stayed still and fired at full power, but again cover came to the Shoota Boyz aide and only two died. In the continuing combat in the ruins neither side could do any damage.